How to Clean an Essential Oil Diffuser Step by Step
Oil residue builds up over time, muting scent and harboring bacteria unless cleaned regularly.
Start with the chemistry, because it explains everything downstream. Residual essential oil does not simply evaporate when you switch the diffuser off. It deposits onto internal surfaces, particularly the ultrasonic plate, and accumulates there. Different oils leave chemically distinct residues; layered over one another, they produce a muddied output that bears little resemblance to what you actually loaded. That stale, vaguely rancid scent coming from a diffuser that worked fine six months ago is not a product defect. It is accumulated neglect — the olfactory equivalent of a palimpsest written over too many times to read.
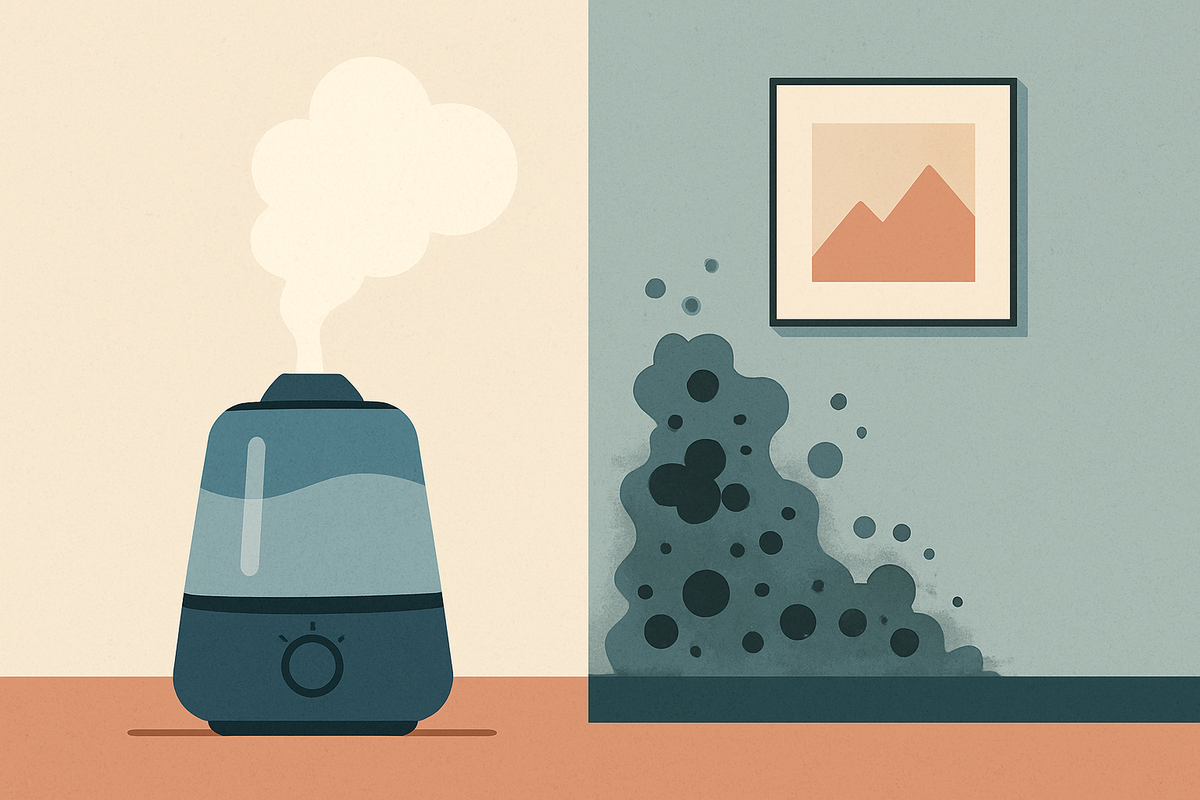
Beyond scent quality, stagnant water in an ultrasonic reservoir creates conditions hospitable to mold and bacteria. Mineral deposits from tap water degrade diffusion efficiency incrementally until the device stops working. Some concentrated resinous oils can corrode internal components if left to sit. According to inessence.com.au, neglecting cleaning can also void a manufacturer's warranty, which is the kind of consequence most owners only discover after it matters.
So how much cleaning does this actually require? The instinctive answer, "as much as possible," is useless in practice and produces the predictable outcome: people do nothing because the effort feels prohibitive.
Calibration is more useful. Match the cleaning effort to the intensity of use. After every session, a quick wipe: remove standing water, address oil residue, leave the reservoir dry. For daily users, a weekly rinse and plate cleaning catches what the quick wipe misses. Then, once a month regardless of usage, a full deep clean resets the device to baseline. Michael Bogoyavlenskiy, Managing Director of Cleaning Express, has noted via Homes & Gardens that consistency in the monthly cadence matters more than the intensity of any individual cleaning session. That is probably right. A mediocre clean done reliably beats a thorough clean done twice a year — like flossing one tooth every day versus all of them once in a blue moon.
Two additional signals worth noting. If scent output smells muted or stale, the device is already behind; do not wait for the scheduled clean. And switching fragrance oils is its own independent trigger. Running bergamot through a reservoir still carrying eucalyptus residue does neither oil any favors.
The quick clean: what to do after every use
Unplug the device first. This is not a suggestion calibrated to your schedule. Water and electricity are an unambiguous hazard, and no efficiency argument overrides that.
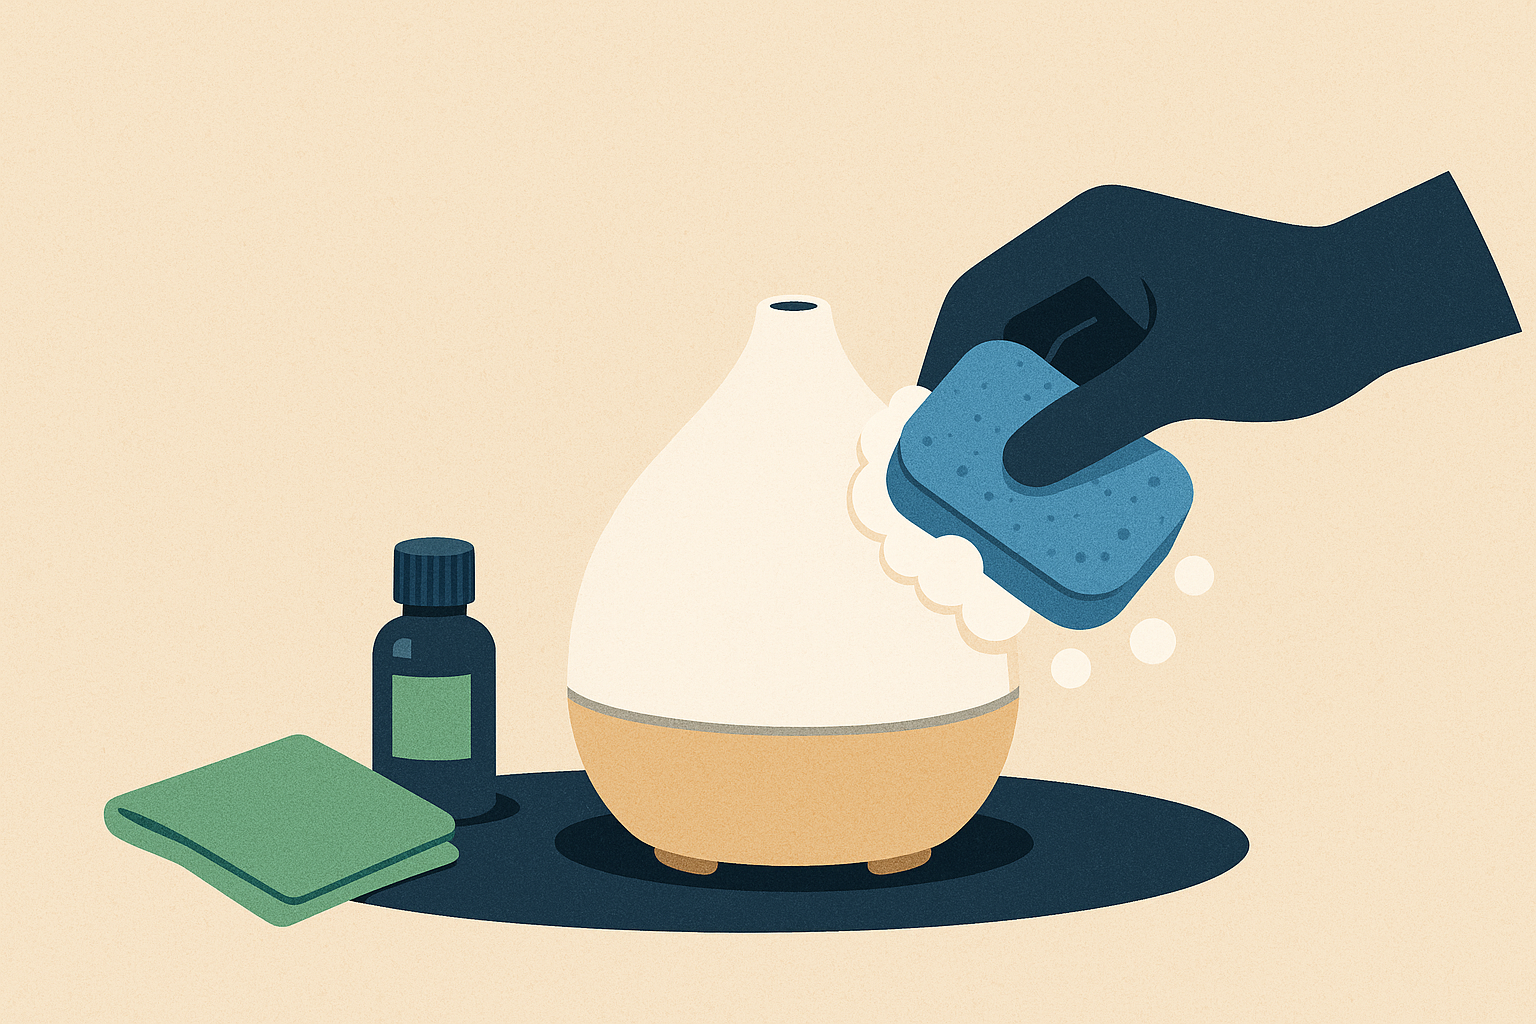
From there: pour out any remaining water or oil immediately. Add a small amount of clean water and a single drop of mild dish soap, swirl gently, pour it out. Use a soft, damp cloth to wipe the interior walls. Avoid abrasive materials entirely; scratched surfaces trap residue more effectively than smooth ones and become progressively harder to clean.
The ultrasonic plate or atomizer chip is the critical step. This is where oil residue concentrates most heavily, and a cloth alone will not adequately address it. Dip a cotton swab in rubbing alcohol or white vinegar and clean the plate deliberately. Alcohol and vinegar dissolve oil film that water cannot shift. Wipe the exterior, address any oily patches with mild soap, then leave everything open to air-dry completely before reassembling.
That last point is where people consistently go wrong. Reassembling a damp diffuser creates the enclosed moisture environment that encourages microbial growth. Five additional minutes of drying time prevents a problem that is considerably more annoying to fix after the fact.
The entire process takes a few minutes. Framing it as part of a winding-down ritual — the way you wipe a stovetop after cooking — makes it sustainable in a way that treating it as a discrete chore does not.
The monthly deep clean: restoring the diffuser to full performance
The quick clean maintains the device. The monthly deep clean actually resets it. They are not interchangeable.
Unplug, empty completely, then choose the method appropriate to the level of buildup.
For routine monthly maintenance on most ultrasonic diffusers, the vinegar soak is sufficient. Fill the reservoir halfway with clean water, add a teaspoon of white vinegar, run the diffuser for several minutes. The solution works from the inside out, breaking down mineral deposits and oil film simultaneously. Empty, rinse thoroughly with clean water. Any residual vinegar scent dissipates as the unit dries.
For stubborn buildup, or when the monthly clean has slipped for several months, an alcohol soak is more effective. Fill the tank with rubbing alcohol at roughly 90% concentration and let it soak for at least 30 minutes. This dissolves residue that water-based methods will not fully address. Empty, then rinse thoroughly with warm water.
In either case, follow the soak with a soft-bristled brush or cotton swab to address the interior walls, the ultrasonic plate, and the underside of the lid. These are the areas the soak does not fully reach.
It is also worth considering the rinse water itself. Using distilled water for the final rinse, and for regular operation between cleans, prevents new mineral deposits from forming immediately after a deep clean. It extends the interval before the next one is necessary. Over the lifetime of a device you actually like, that compounds.
What to avoid throughout: harsh chemical cleaners, abrasive scrubbers, anything that scratches the reservoir or the ultrasonic chip. These cause precisely the damage that cleaning is meant to prevent. People do this more often than you would expect.
Cleaning a cold-air or nebulizing diffuser requires a different approach
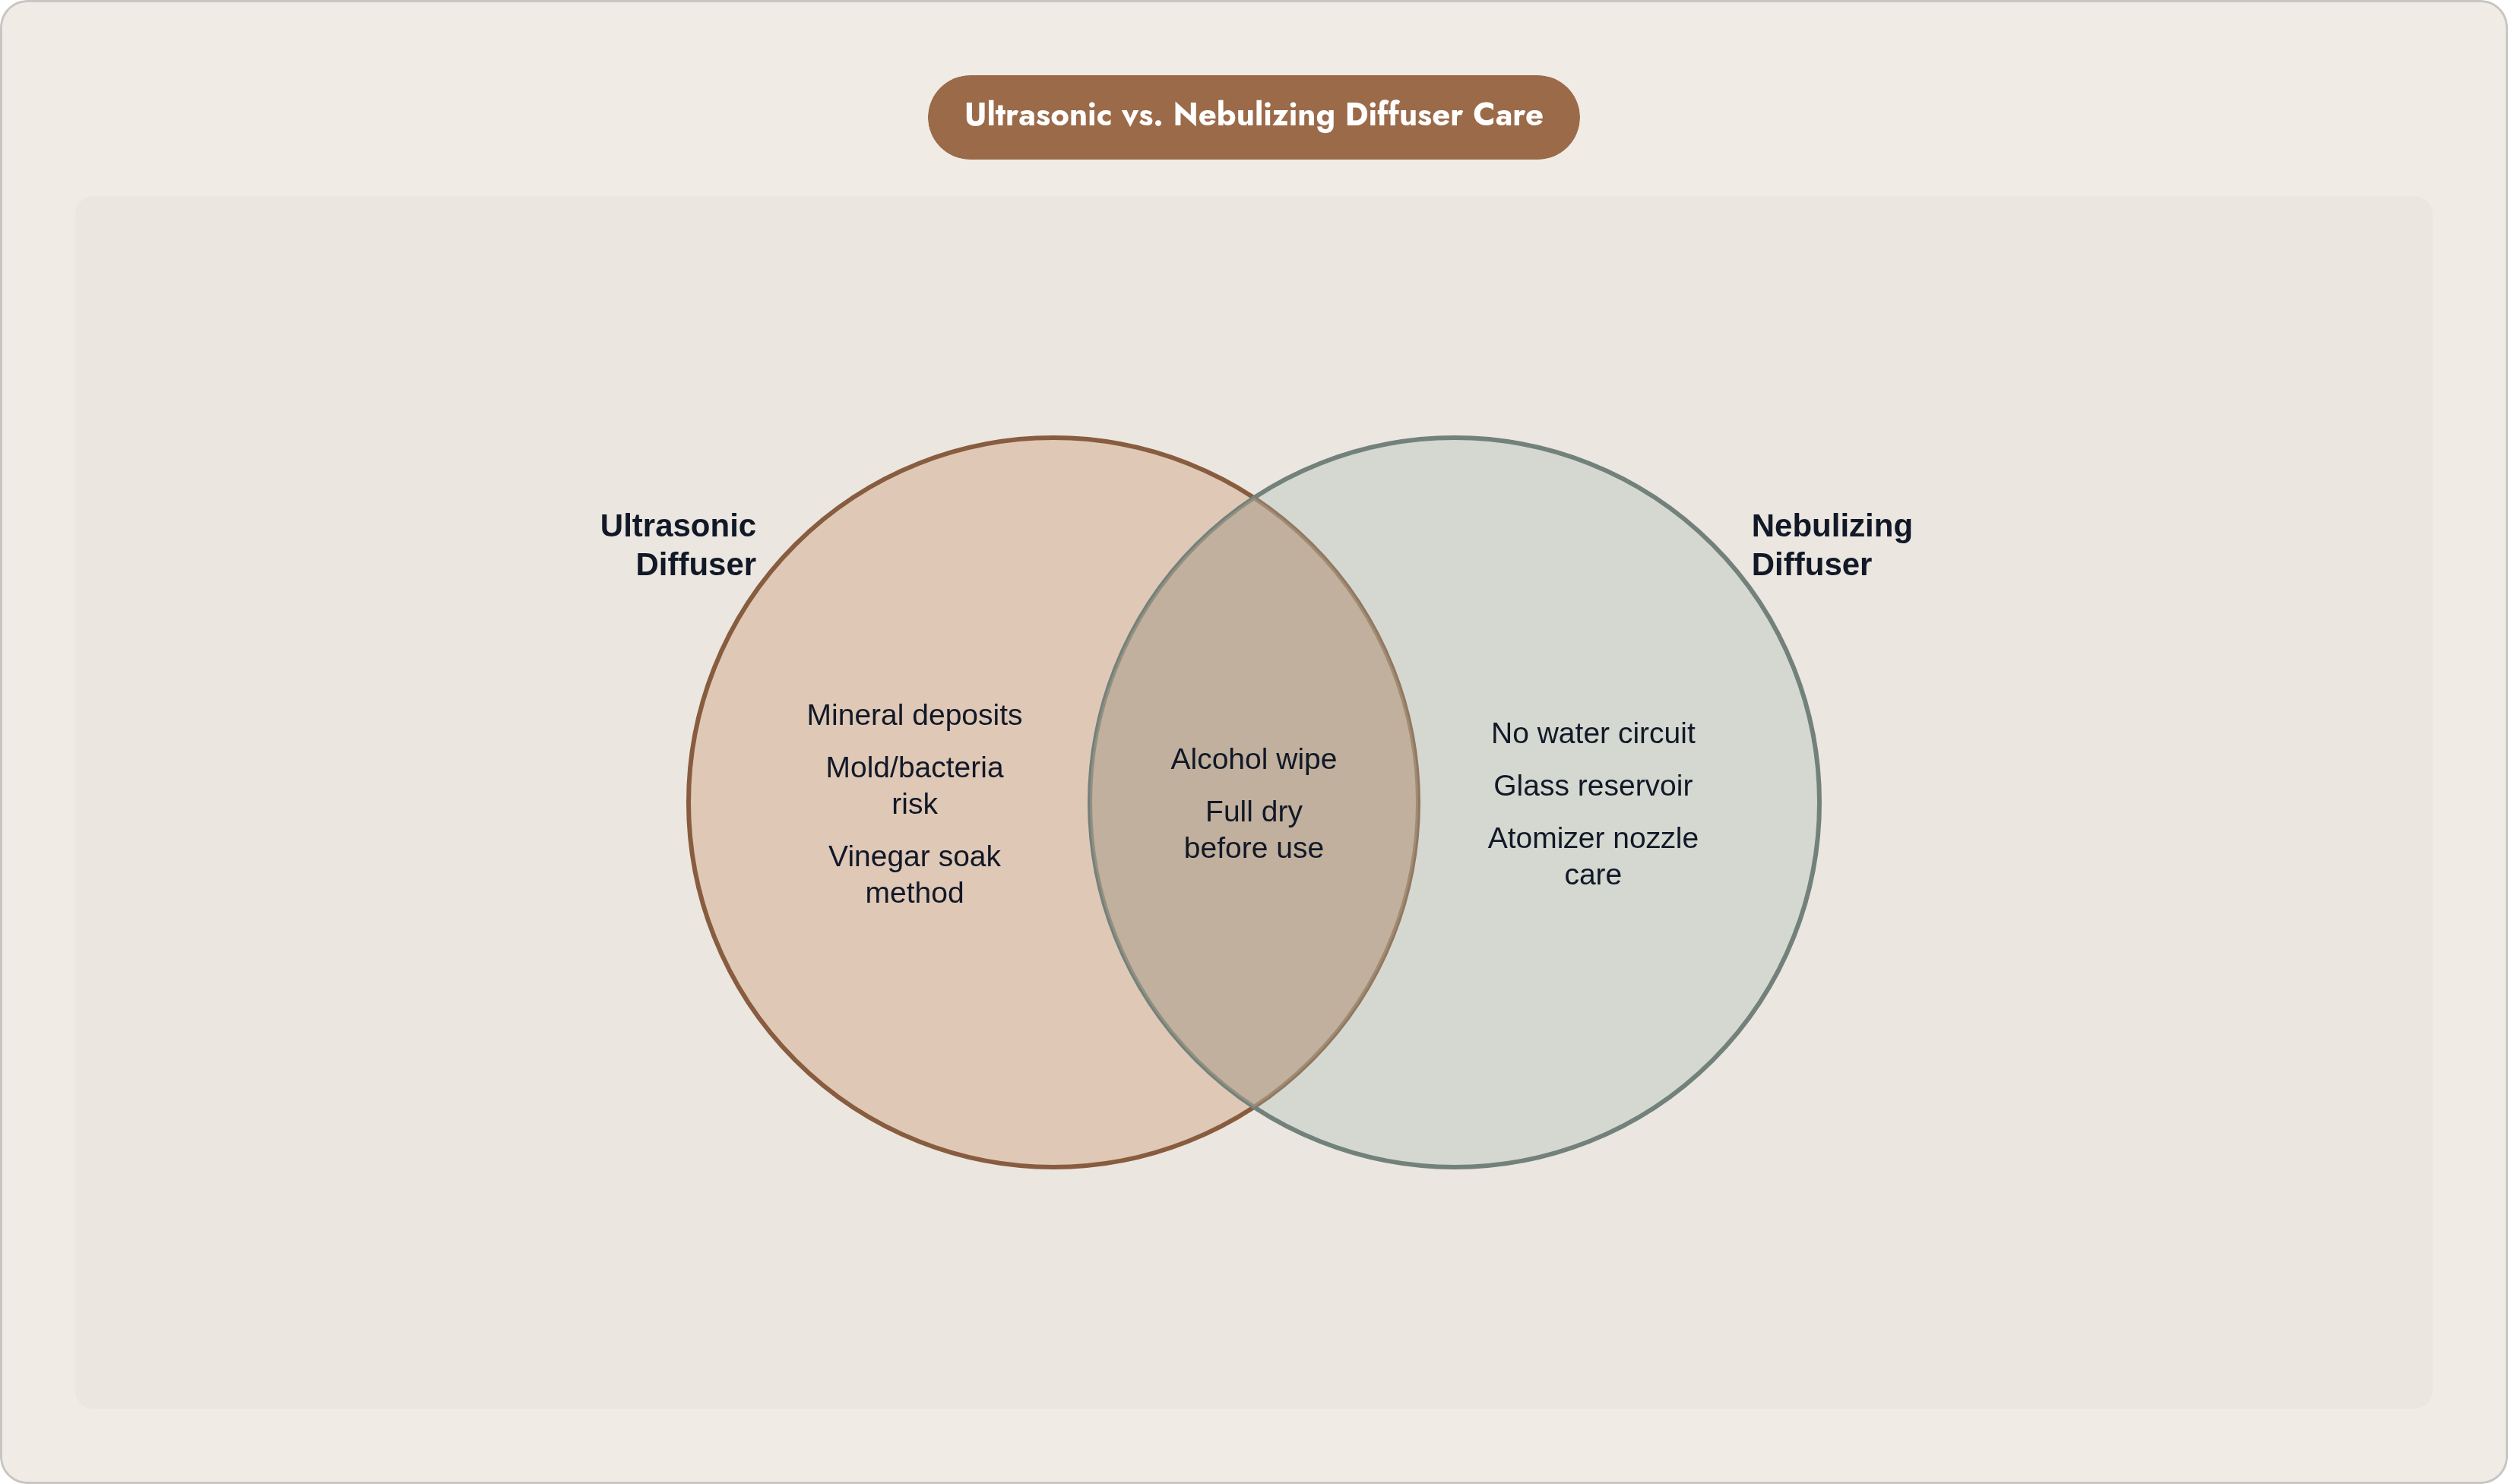
Cold-air and nebulizing diffusers operate without water, which fundamentally changes what buildup looks like. No mineral deposits, no moisture residue, no mold risk. The tradeoff is concentrated oil accumulation in the glass reservoir and atomizer nozzle: pure, undiluted fragrance oil with nothing to thin it. The symptom of neglect is reduced or uneven mist output, the physical consequence of resinous oil thickening in the atomizer channels — think honey left in a squeeze bottle over a cold winter.
The cleaning method follows directly from the problem. Empty any remaining oil from the glass reservoir. Dampen a cloth with isopropyl alcohol and wipe the interior to dissolve the oil film; alcohol cuts through oil without leaving water residue, which matters here precisely because there is no water circuit to flush things out. Use a cotton swab with alcohol to clear the atomizer nozzle and any narrow internal channels. Some manufacturers offer cleaning solutions specifically formulated for their atomizer materials; follow those instructions where they exist. Allow all parts to dry fully before refilling.
Waterless diffusers are notably easier to maintain. No reservoir to empty after every use, no mineral scaling to scrub off a chip, no mold concern. The cleaning interval is longer than for ultrasonic models. That said, switching between fragrance oils should still prompt at minimum a quick alcohol wipe to prevent scent crossover. Concentrated oils do not forgive casual mixing.
The underlying principle, start clean and stay clean, applies whether the device uses water or not.
The habits and conditions that keep a clean diffuser performing consistently
Cleaning is reactive. The habits here are preventive. Prevention is less effort than remediation, and in this context the margin is not close.
Water quality is upstream of everything else in ultrasonic diffusers. Using distilled water from the start dramatically slows mineral deposit accumulation, which is substantially easier than scrubbing scale off an ultrasonic chip after the fact. This is one of those variables people overlook because it requires doing something before a problem appears, which is apparently much harder than doing something after.
Storage is another variable people underestimate. When the diffuser is not in use, keep it dry, cool, and empty. Dust settling into a damp, enclosed reservoir creates conditions for microbial growth even when the device is not running. An empty reservoir eliminates that risk with essentially zero effort.
Running a diffuser at lower intensity for longer produces more consistent scent coverage and leaves less concentrated residue than running it at full power in short bursts. More output is not the same as better scent. This also extends the intervals between deep cleans, which has real value if you actually use the device regularly.
Fragrance oil quality matters here too. Pure oils without synthetic fillers or heavy carrier additives leave less residue. What goes into the diffuser and how quickly it requires maintenance are not independent variables. Oil formulation is a maintenance decision, even if it does not feel like one at the point of purchase.
Finally, keep the exterior clean. Dust accumulating on vents and air intake areas restricts airflow and degrades device lifespan regardless of how pristine the reservoir is. A diffuser is a piece of home technology with precision components. Its output is directly proportional to how well it is maintained, and that relationship is less forgiving than most people assume until the device stops working correctly and they are left wondering why.